[siteorigin_widget class=”WP_Widget_Media_Video”][/siteorigin_widget]
[siteorigin_widget class=”WP_Widget_Media_Image”][/siteorigin_widget]
Step 1 : making your slab from soft clay
Create a slab and compress it on both sides. Apply texture to your slab if you want.
[siteorigin_widget class=”WP_Widget_Media_Image”][/siteorigin_widget]
Step 2 : cut out the forms
Use the cutter no 01-1 to cut out the cup,
use cutter no 01-2 to cut out two squares,
use cutter no 01-3 to cut out a rim out of one of the squares
[siteorigin_widget class=”WP_Widget_Media_Image”][/siteorigin_widget]
Step 3 : Cleaning up the edges and adding texture
Clean up the edges as much as you can.
[siteorigin_widget class=”WP_Widget_Media_Image”][/siteorigin_widget]
Step 4: assemble the cup
Bevel the edges so you can ‘fold’ your cup. Since the clay is still soft you can use a little bit of water, no slip or scoring needed. Press de edges firmly together and clean up.
[siteorigin_widget class=”WP_Widget_Media_Image”][/siteorigin_widget]
Step 5: adding the foot
Add the cut out square to your cup and tap slightly on the bottom.
[siteorigin_widget class=”WP_Widget_Media_Image”][/siteorigin_widget]
Step 6: adding the foot ring
Add the cut out square ring to the bottom of your cup and clean up the edges
[siteorigin_widget class=”WP_Widget_Media_Image”][/siteorigin_widget]
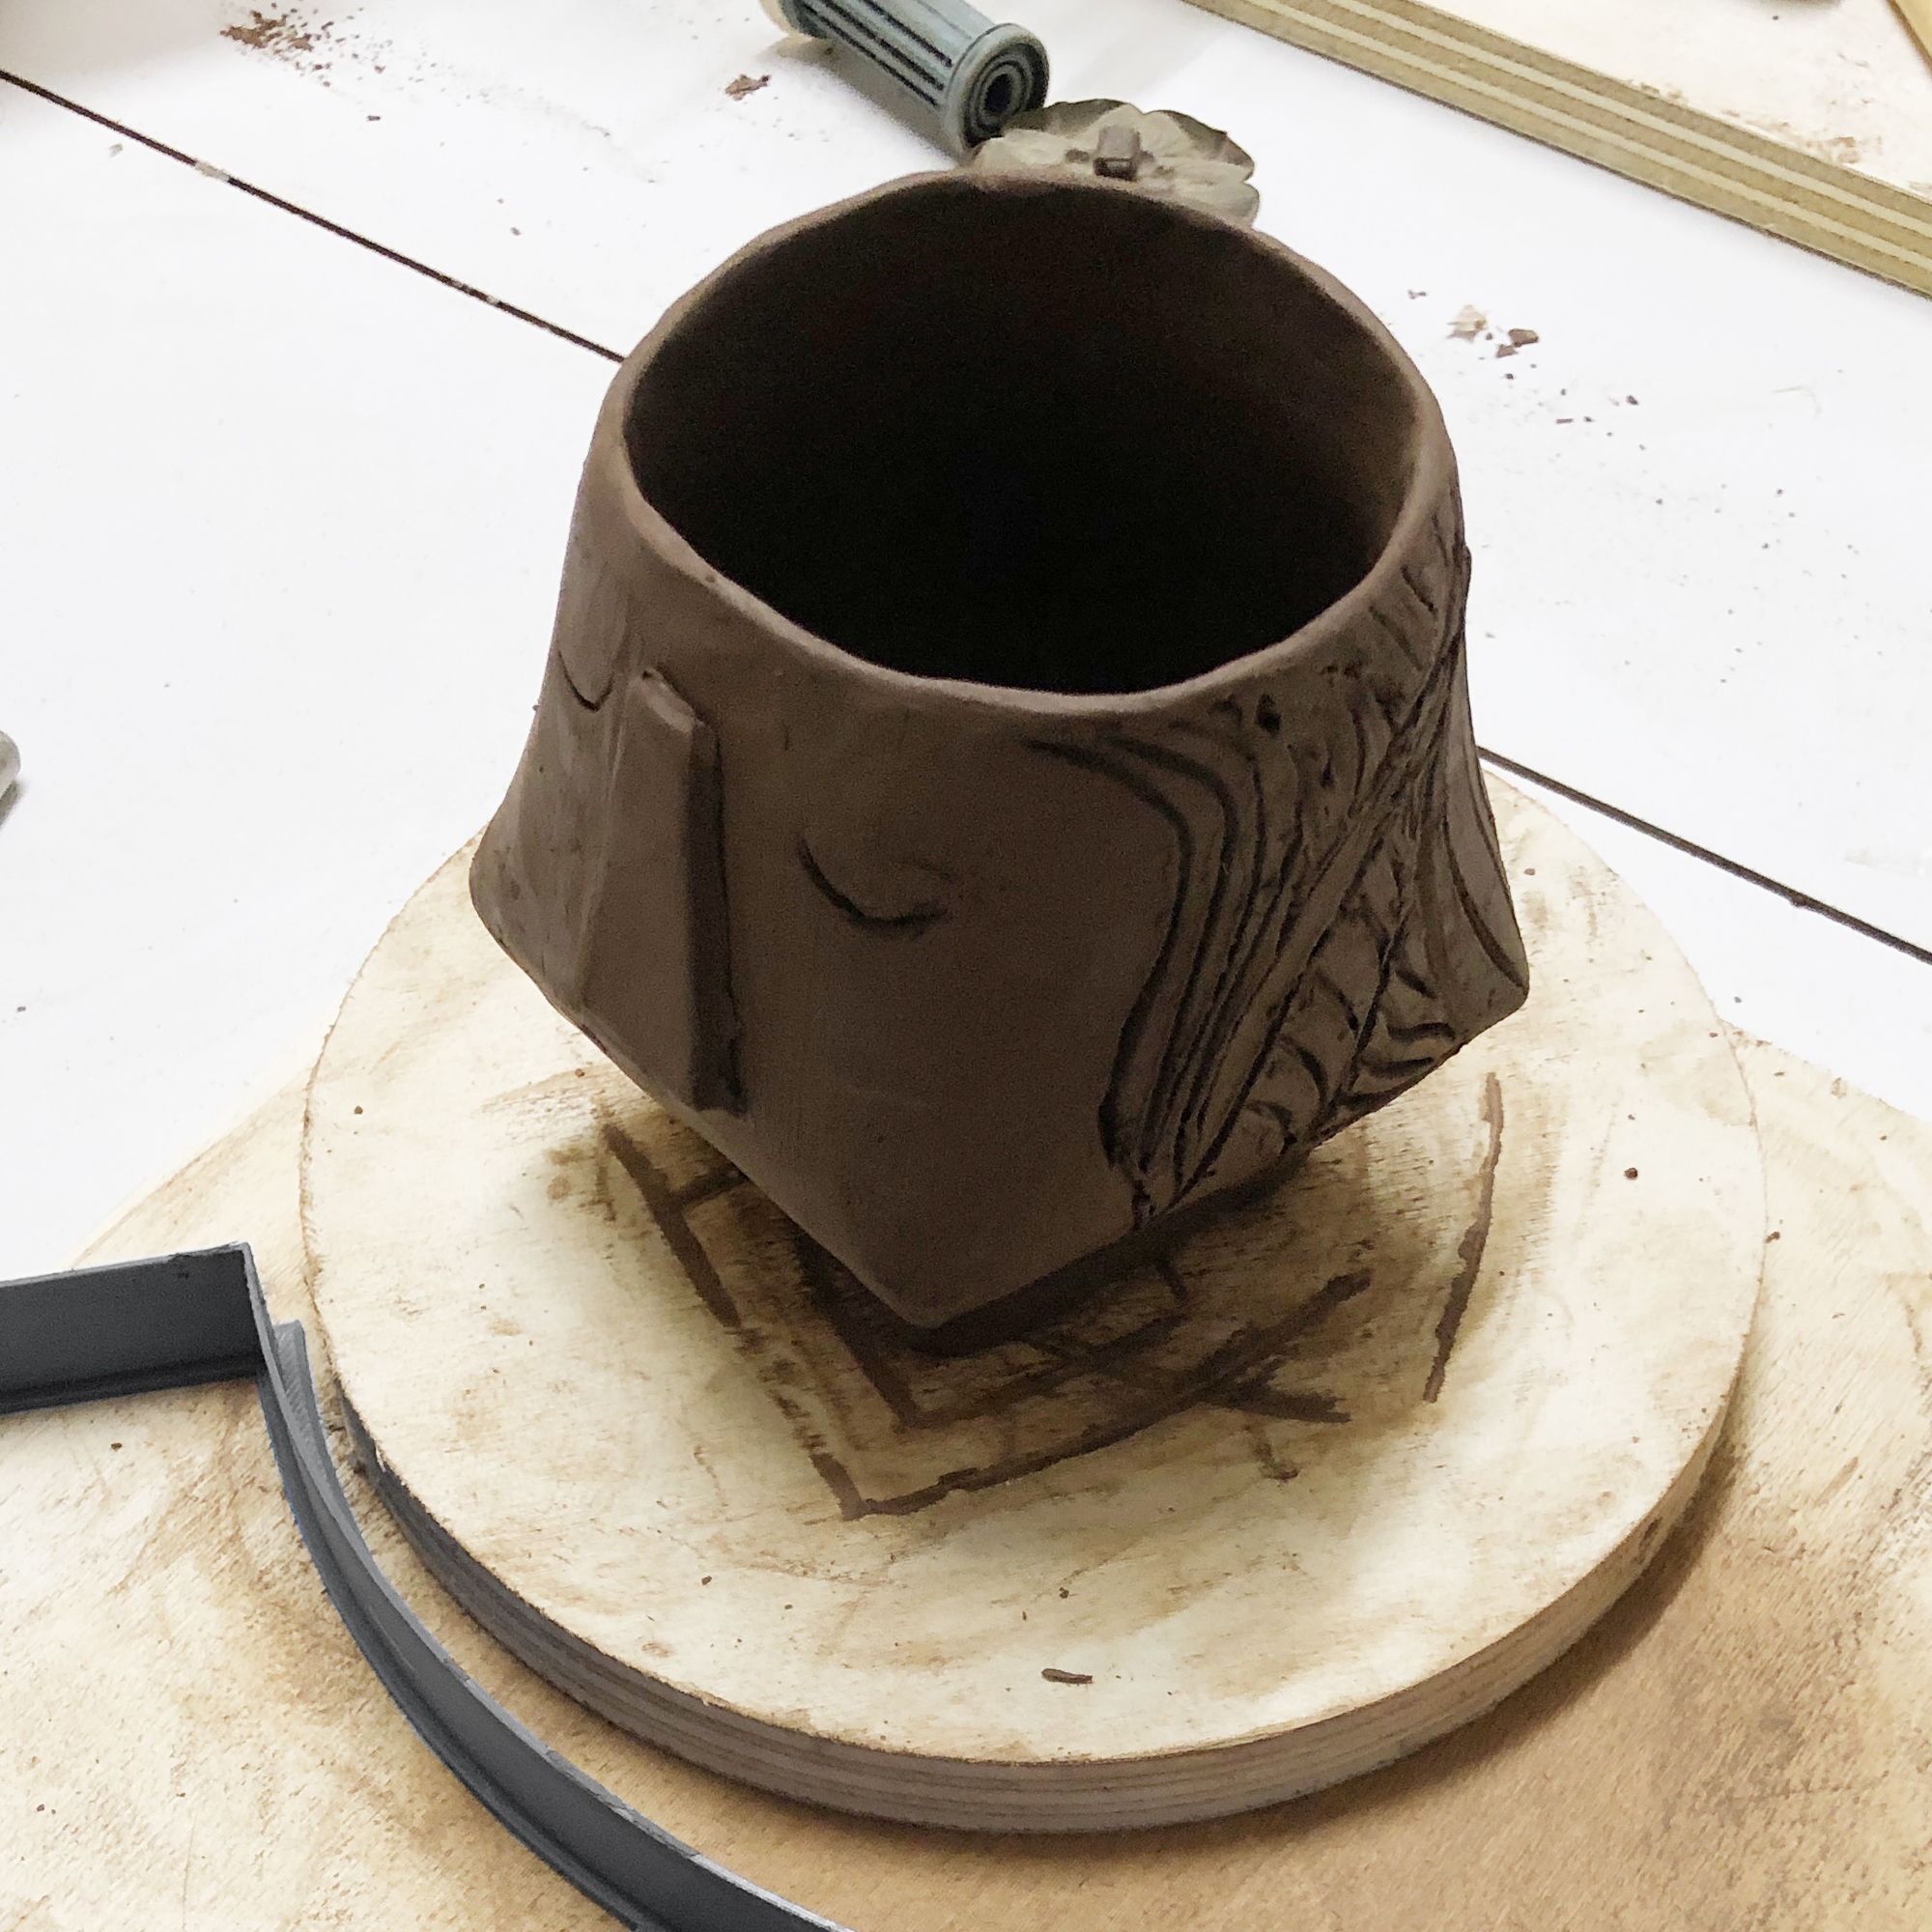
Step 7: clean up!
Have a good look at your cup and clean up all imperfections.
[siteorigin_widget class=”SiteOrigin_Widget_Headline_Widget”][/siteorigin_widget]
Have a good look at your cup and clean up all imperfections.